| Measuring Equipment Specifications |
- Interferometer : flat / cylinder / curvature measurement (CX ≤ 700, CC ≤ 1000)
– RMS Simple Repeatability <0.06nm, λ/10,000(2σ)
– RMS Wavefront Repeatability <0.35nm, λ/1,800(mean + 2σ)
– Peak Pixel Deviation < 0.5nm, λ/1,200(99.5%)
– Pupil Focus Range 4inch
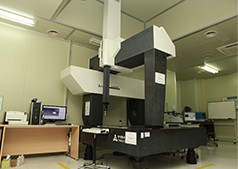
- Three-dimensional measuring devices: measurement of parallelism/floor plan/squareness/ roundness
– Resolution(um) : Standard 0.5, High Accuracy 0.1
– Maximum Permissible : Standard 3.5+L/300, 3.5, High Accuracy 3.0+L/300, 3.0
- Prism Master: angle measurement
– Electronic autocollimator : EFL 300 mm, Diameter 57mm
– Accuracy of the autocollimator : Resolution 0.01; Repeatability ±0.1
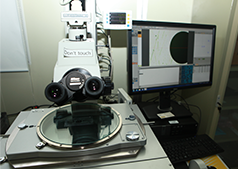
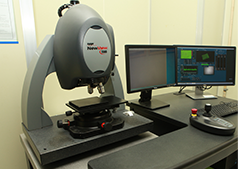
- Surface roughness measurement: surface roughness measurement (Ra)
– 10x, 50x, 100x Measurable
– Vertical Scan Range
– 150um, Extended scan range to 20mm
– Vertical Resolution < 0.1mm
– Lateral Resolution 0.36 to 9.50 um
– RMS Repeatability <0.01nm
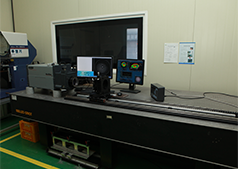
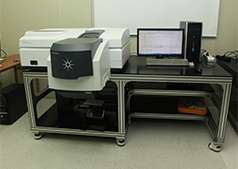
- Spectrometers: measurement of transmittance / reflectance (absolute reflection) / absorbance
– Wavelength range 190 ~ 2800nm / 250 ~ 2500nm (with Auto Polarizer)
– Transmittance 0 to 85 degrees
– Reflectivity 5 to 85 degrees
– Measurement error (10 times in case of repeating measurement) <0.1%
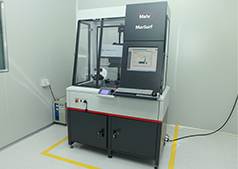
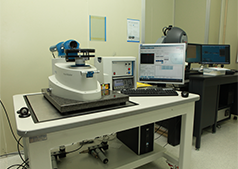
- Mahr LD260: Measurement of plane / aspherical surface / cylinder / shape and roughness
– Probe measurement range
(1) 13mm (100mm probe arm)
(2) 26 mm (200mm probe arm)
– Drive X axis uncertainty: ±0.2*L.1000) um
– Measurement time: 5 ~ 10 min
– Measuring range / Resolution (Z-axis) 13mm/0.8nm
– Measuring range / Resolution (X-axis) 0.1-260mm/0.8nm
– Minimum measuring distance (X axis) 0.05-30um
– Positioning accuracy: 0.1um
- ASI: Measurement of plane /aspherical surface/curvature (CX550 / CX700)
– Repeatability ≤ 10nm (λ/60)rms
– Reproducibility ≤ 20nm (λ/30)rms
– Accuracy ≤ 30nm (λ/20)rms
– Diameter ≤ 300mm can be measured
|
 ALL MENU


